Address Book User Guide
Introduction
The Address Book view allows you to maintain your contacts, including grouping them together.
View
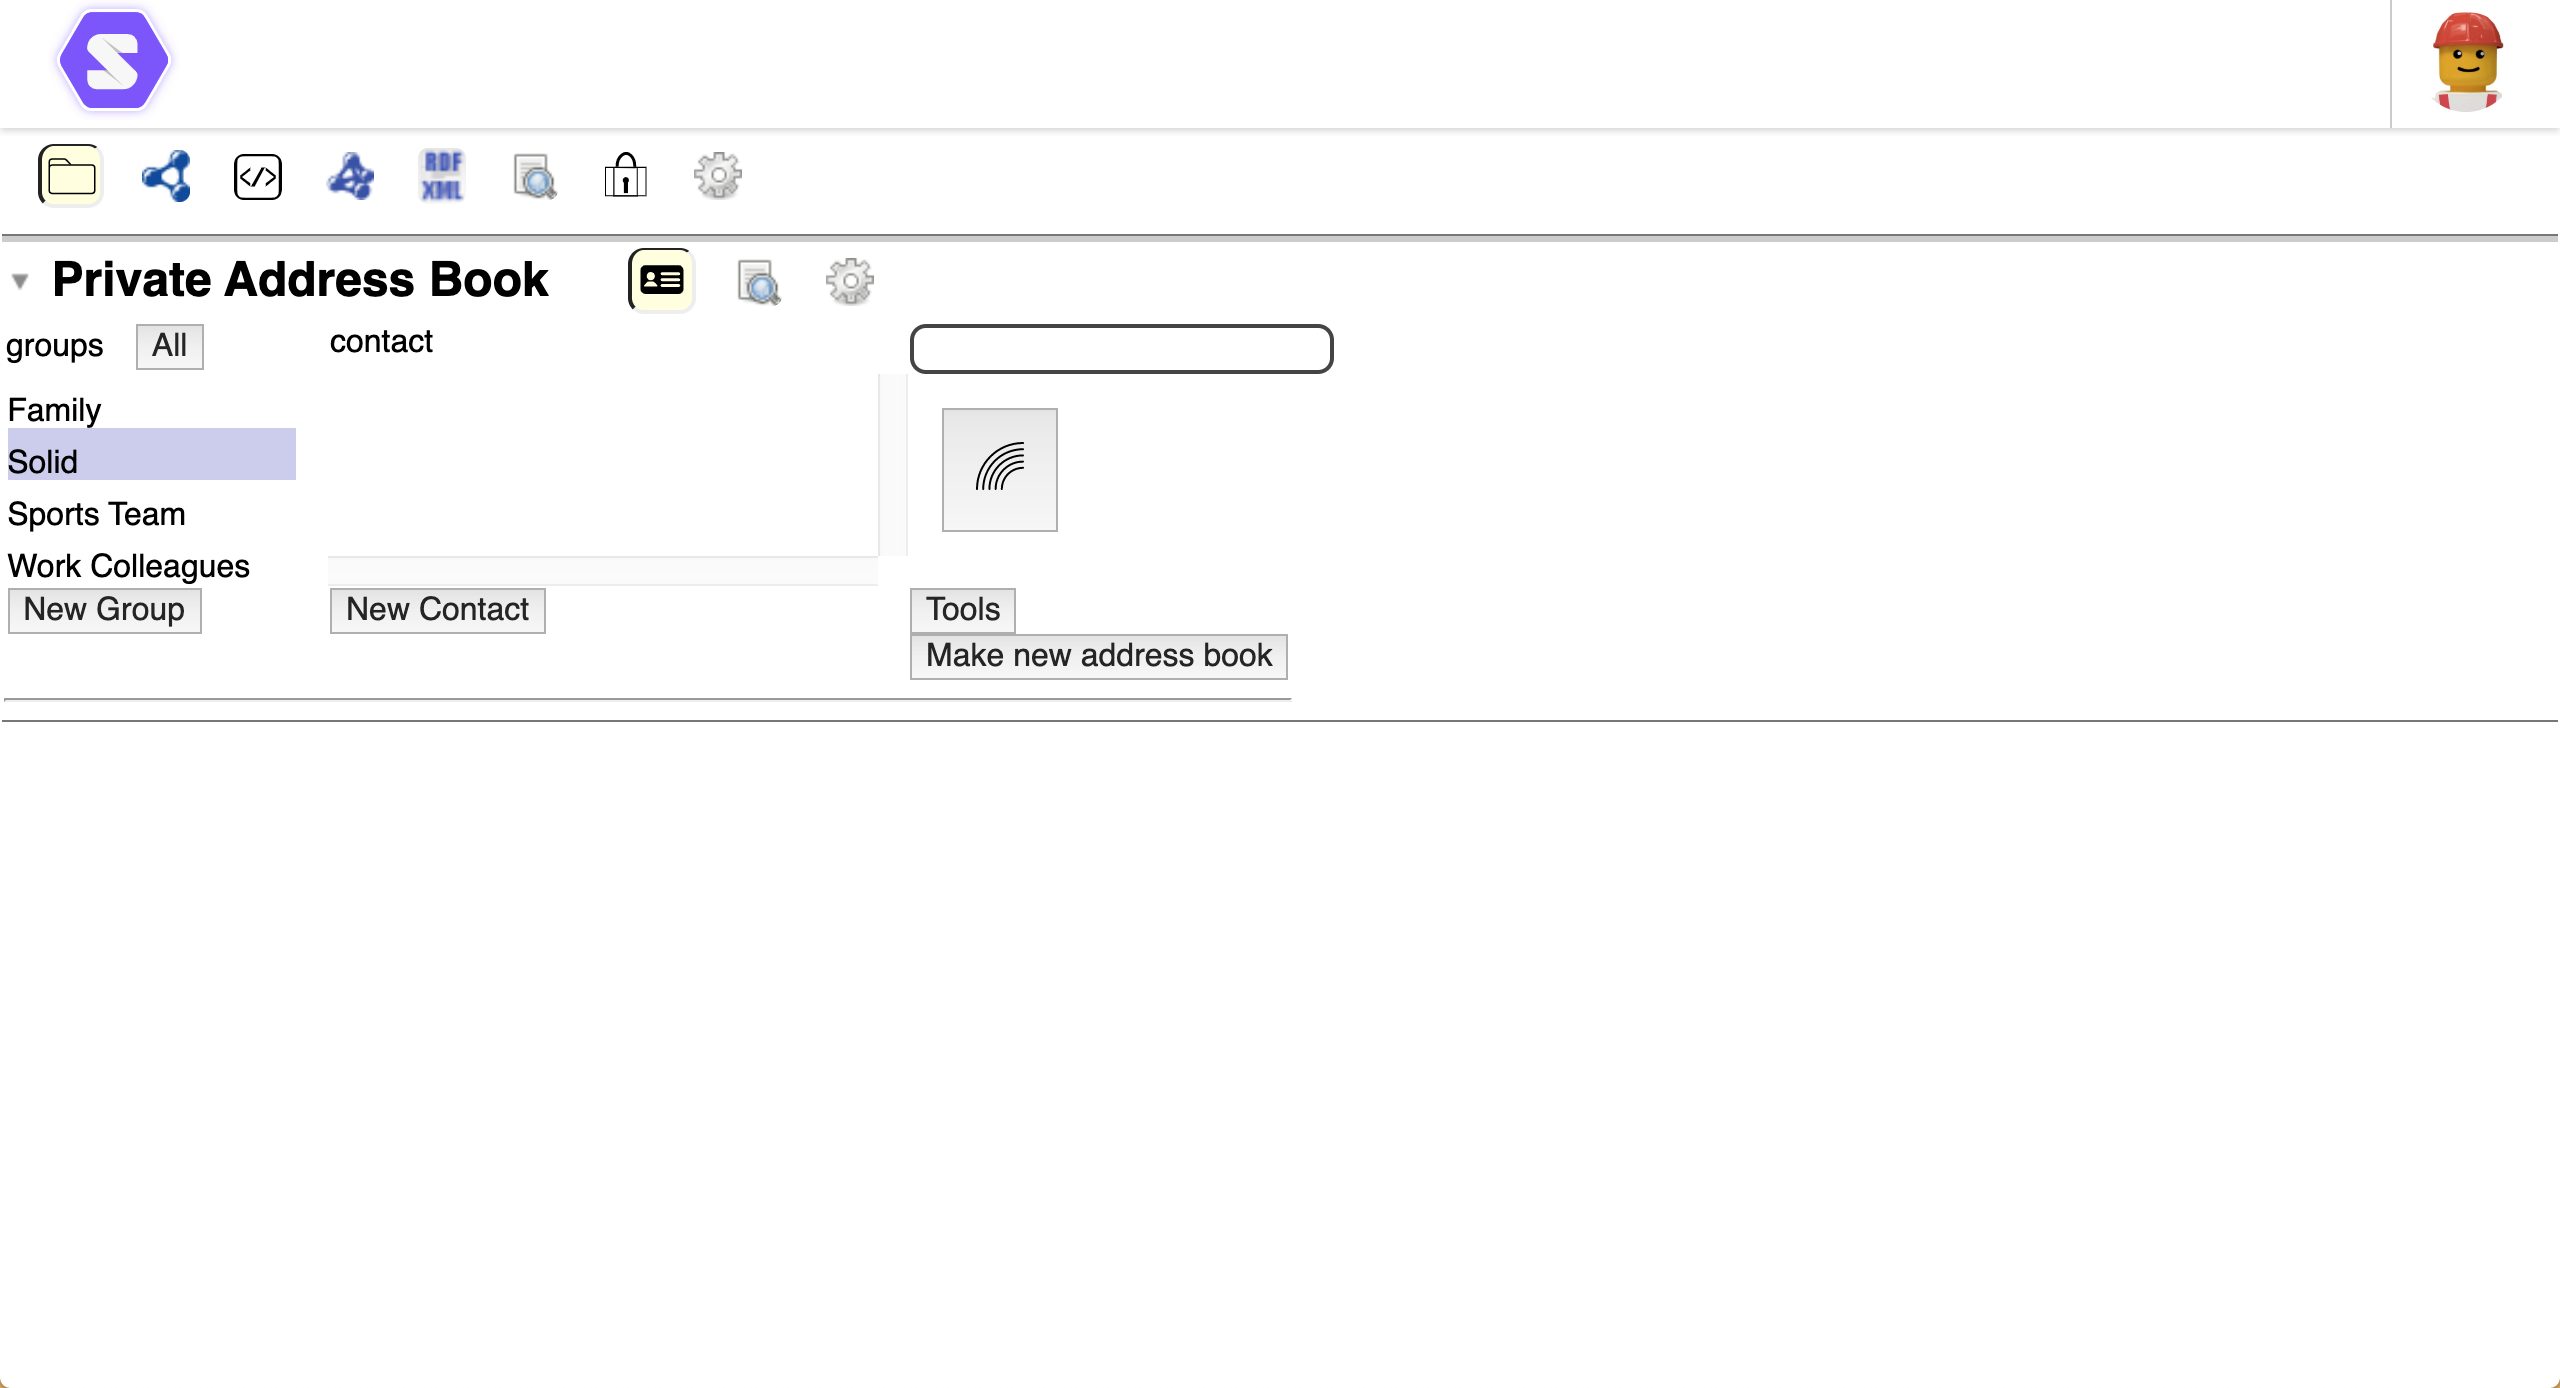
To display an address book:
- In the SolidOS Databrowser, navigate to the address book.
- The address book should automatically be displayed:
Tip: If the address book is not automatically displayed, click ![]() in the address book header.
in the address book header.
Contacts
Display a Contact
To display the details for a contact:
- Optionally, select the group(s) of which the contact is a member to filter the list of contacts.
- Click the name of the contact to display.
- The details of the contact are displayed in a Profile view:
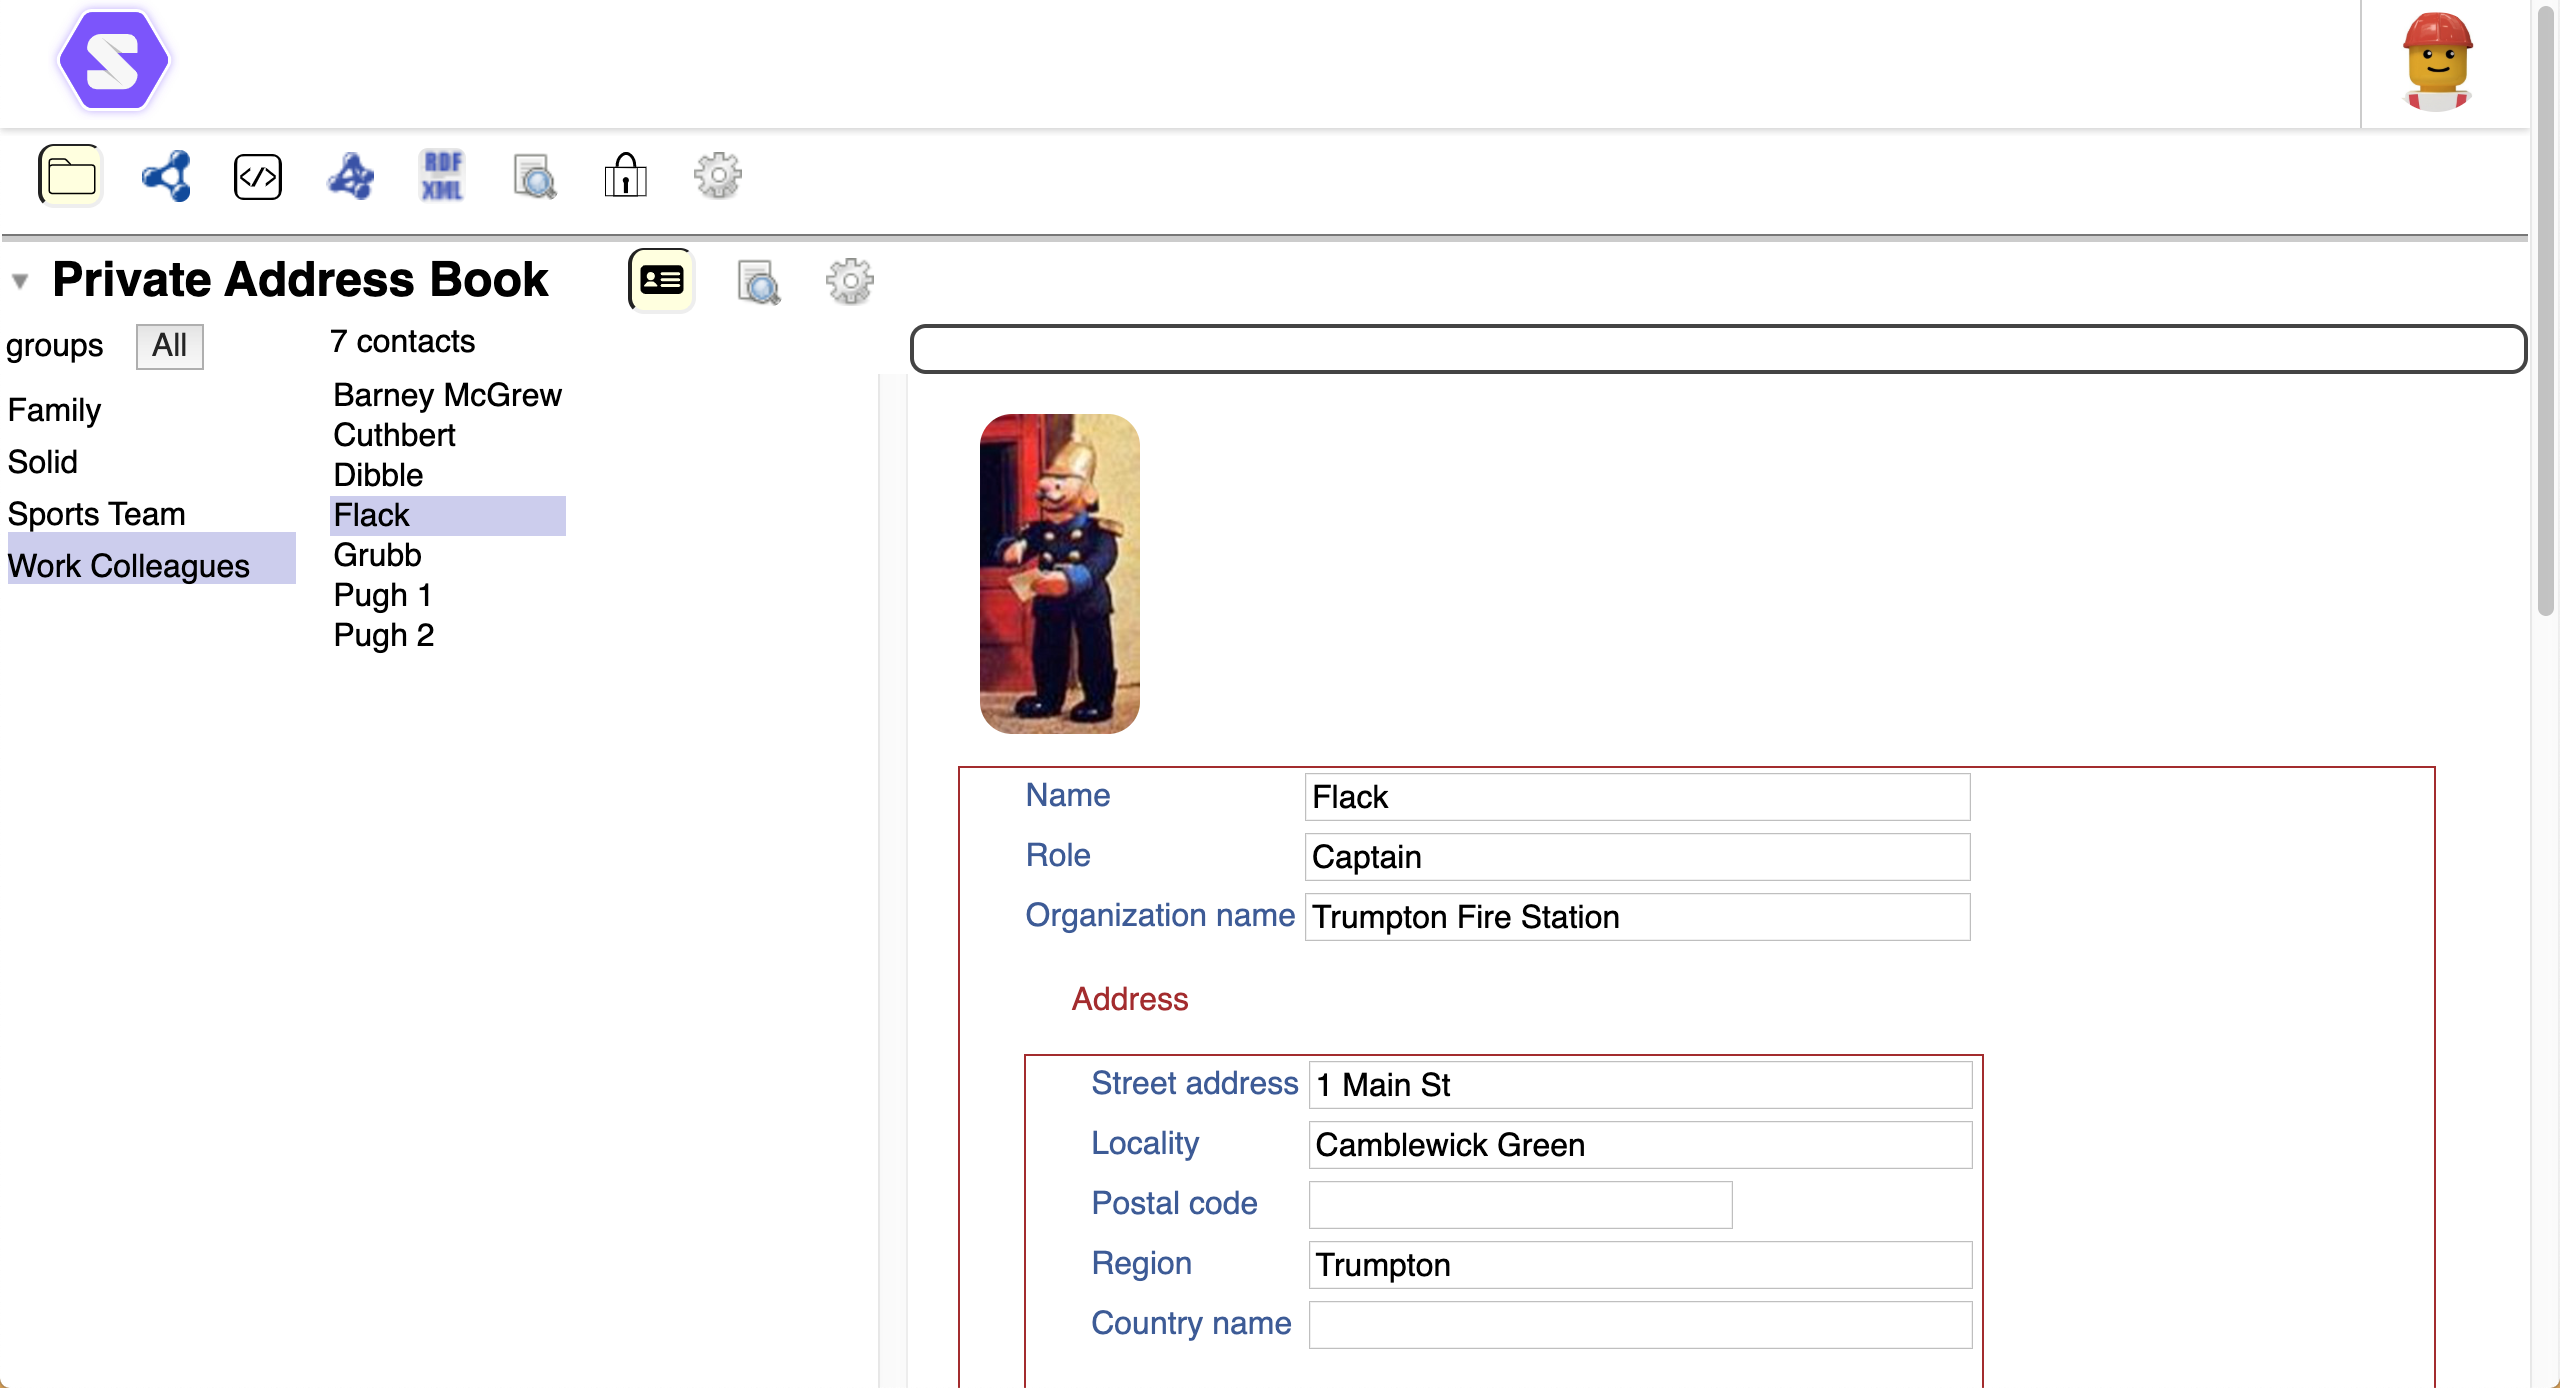
- Via the Profile view, you can edit the contact details.
Tip: To select all groups, click the All button. To select a subset of the groups, click the group name while holding the Shift/Command key.
Search
You can search for contacts within the address book:
- Enter the search term in the search bar at the top of the Address Book view.
- The names of any contacts, in the selected groups, that match the search term are listed.
Add a new Contact
To create a new contact record:
- Select the group(s) into which the new contact should be appended.
- Click the New Contact button.
- Enter the name for the new Contact.
- Click
 Continue icon to create the Contact.
 - A Profile view for the new Contact is displayed allowing the details to be entered.
Note: A contact must be a member of at least one group.
Delete an existing Contact
To delete an existing contact:
- Display the details for the contact.
- At the bottom of the Profile, hover the mouse pointer over the profile.
- A
 Remove icon is displayed.
 - Click the Remove icon to delete the contact.
Groups
Contacts can be assembled into groups. A single contact may be a member of multiple groups.
New Group
New contact groups can be created:
- Click the New Group button.
- Enter the name for the new group.
- Click Continue icon to create the group.
Delete Group
To delete an existing group:
- Hover the mouse cursor over the Group name.
- A Remove icon is displayed.
- Click the Remove icon to delete the group.
Group Sharing
Individual groups can be shared differently than the whole address book.
To adjust the sharing:
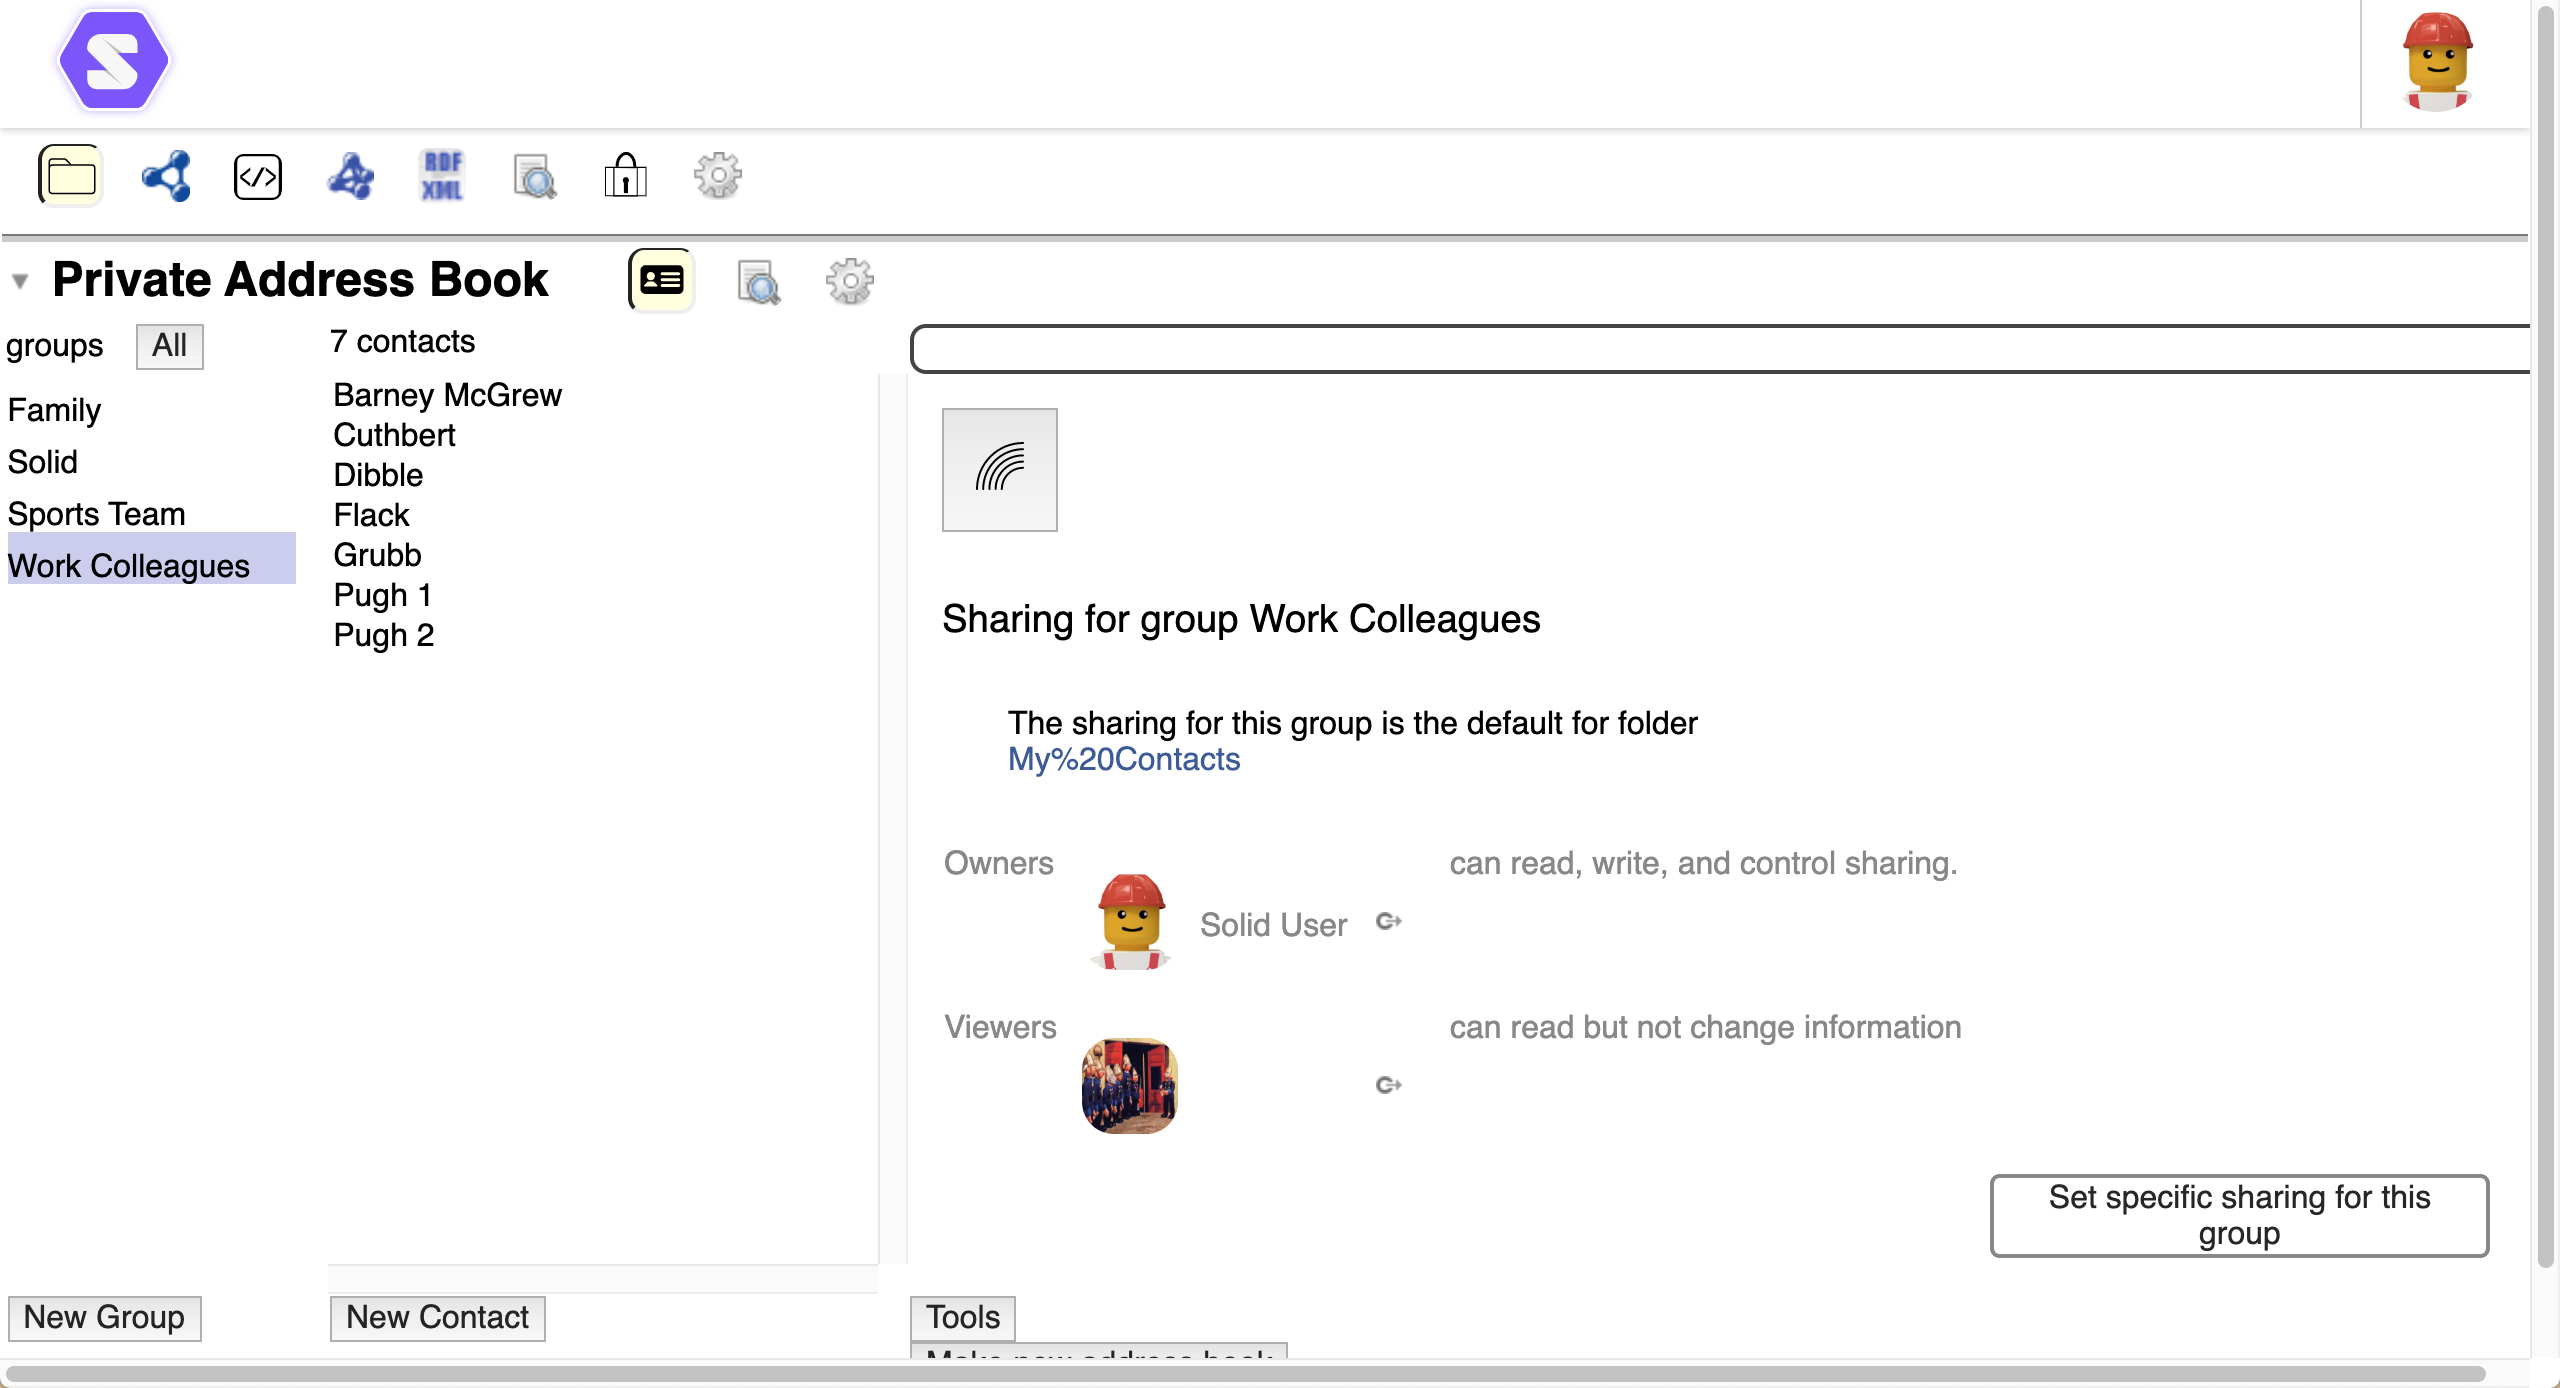
- Select the group to adjust.
- Click the displayed
 Sharing icon.
 - The Sharing settings for the group are displayed:
- To set custom sharing for this group:
- To reset sharing for this group back to the default:
- Click the Stop specific sharing for this group button.
Add
To add a user/group/bot as Viewers:
- Click the
 Add icon.
 - Icons are displayed for each of the entities that can be given access to the resource:
 User.
User. Group.
 Everyone.
 Authenticated Agent.
 Bot.
Bot. Trusted Applications.
- Select the entity type for which you want to provide access.
- If a User, Group or Bot is selected to be added:
- A text box is displayed allowing the URI for the entity to be entered.
- Enter the URI for the entity and click Continue.
- The entered entity is added as a Viewer.
- If Everyone or Authenticated Agent is selected:
- Everyone or Authenticated Agent is immediately added as a Viewer.
- If Trusted Applications is selected:
- A list of your trusted applications is displayed.
- Select the Trusted Applications you want to give access.
- The selected Trusted Applications are added as Viewers.
- If a
- Once added, the sharing access of the entity can be adjusted.
Tip: To add a entity to a specific sharing group, drag-and-drop the URI for the entity onto the sharing group.
Adjust
To move an entity between sharing groups:
- Click-and-drag the entity between the sharing groups.
Remove
To remove an entity from a sharing group:
- Hover the mouse pointer over the
 Goto This icon next to the user’s Profile image/name.
 - A Remove icon is displayed.
- Click the Remove icon to remove the sharing access for the entity.
Tools
The various Address Book tools allow you to review and maintain the address book.
- Sharing for the Address Book. Allows the sharing for the address book to be views and modified.
- Check Individual Card Access for Selected Groups. Who can access which groups?
- Find Duplicate Cards. Scans the contacts to determine any duplicate records. If any are found, they can be repaired.
- Find Individuals with no Group. Determines if any contacts are not in any group.
- Public Link to this Address Book. Generates a public link to the address book that is displayed in the Public things panel under Your stuff on your Dashboard.
- Personal Note of this Address Book. Generates a private link to the address book that is displayed in the Private things panel under Your stuff on your Dashboard.
- Load Main Index. Reloads the main people index.
- Statistics. Generates statistics for the address book.